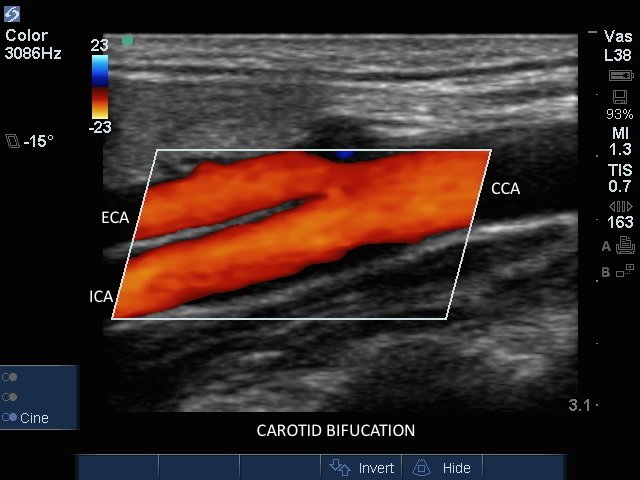
Carotid: Bifurcation
Carotid: Bifurcation
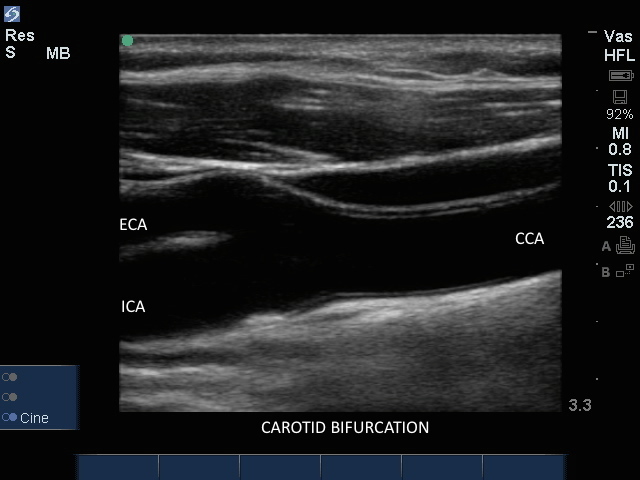
/sites/default/files/201408_IMAGE_EDGE_CAROTID_BIFURCATION.jpg
Clinical Specialties
Media Library Type
Media Library Tag
Compatible Products