How to: Axillary Nerve Block
Dr. David Auyong reviews scanning techniques and sonographic landmarks for an ultrasound guided nerve block .


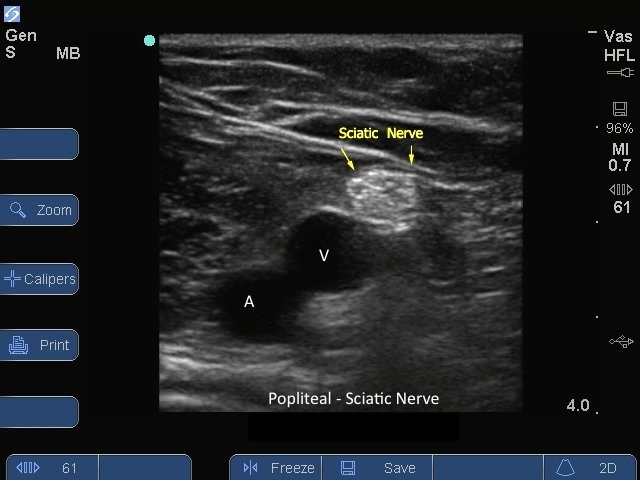
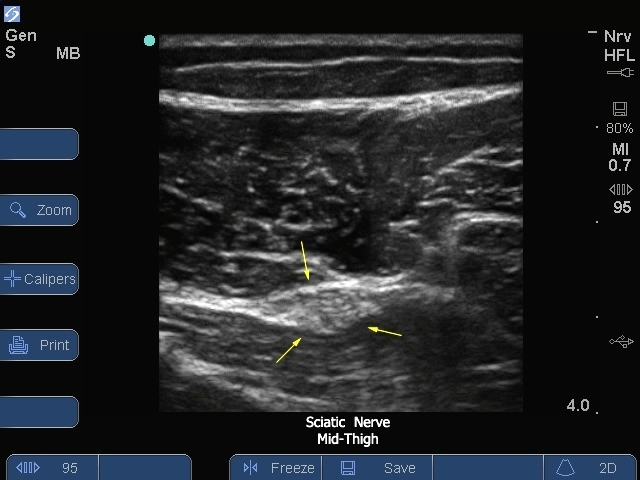
S Series: Sciatic Nerve Popliteal Vessels. Popliteal nerve block
S Series: Sciatic Nerve Popliteal Vessels. Popliteal nerve block


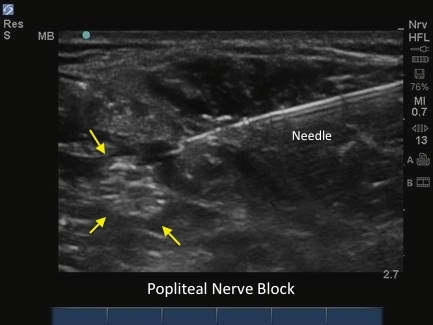
M-Turbo: Popliteal nerve block with Needle.
M-Turbo: Popliteal nerve block with Needle.
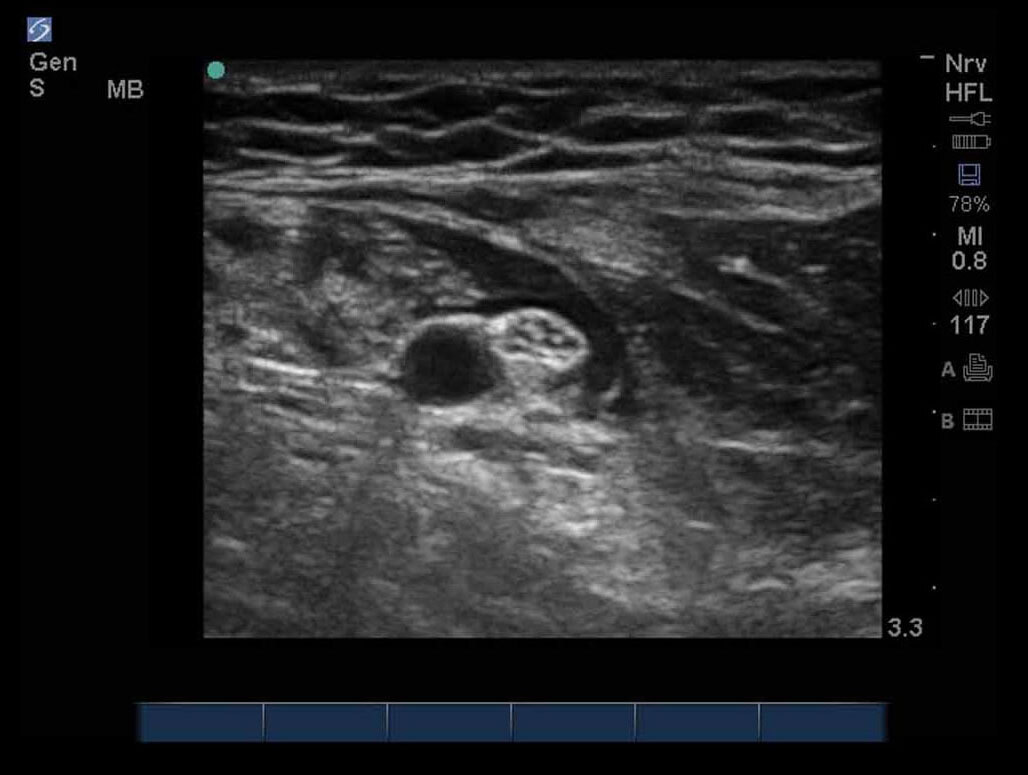

S Series: Brachial Plexus Supraclavicular nerve block Level 1.
S Series: Brachial Plexus Supraclavicular nerve block Level 1.